Prerequisites
To integrate Mintlify with Speakeasy, you’ll need the following:- A Mintlify documentation repository.
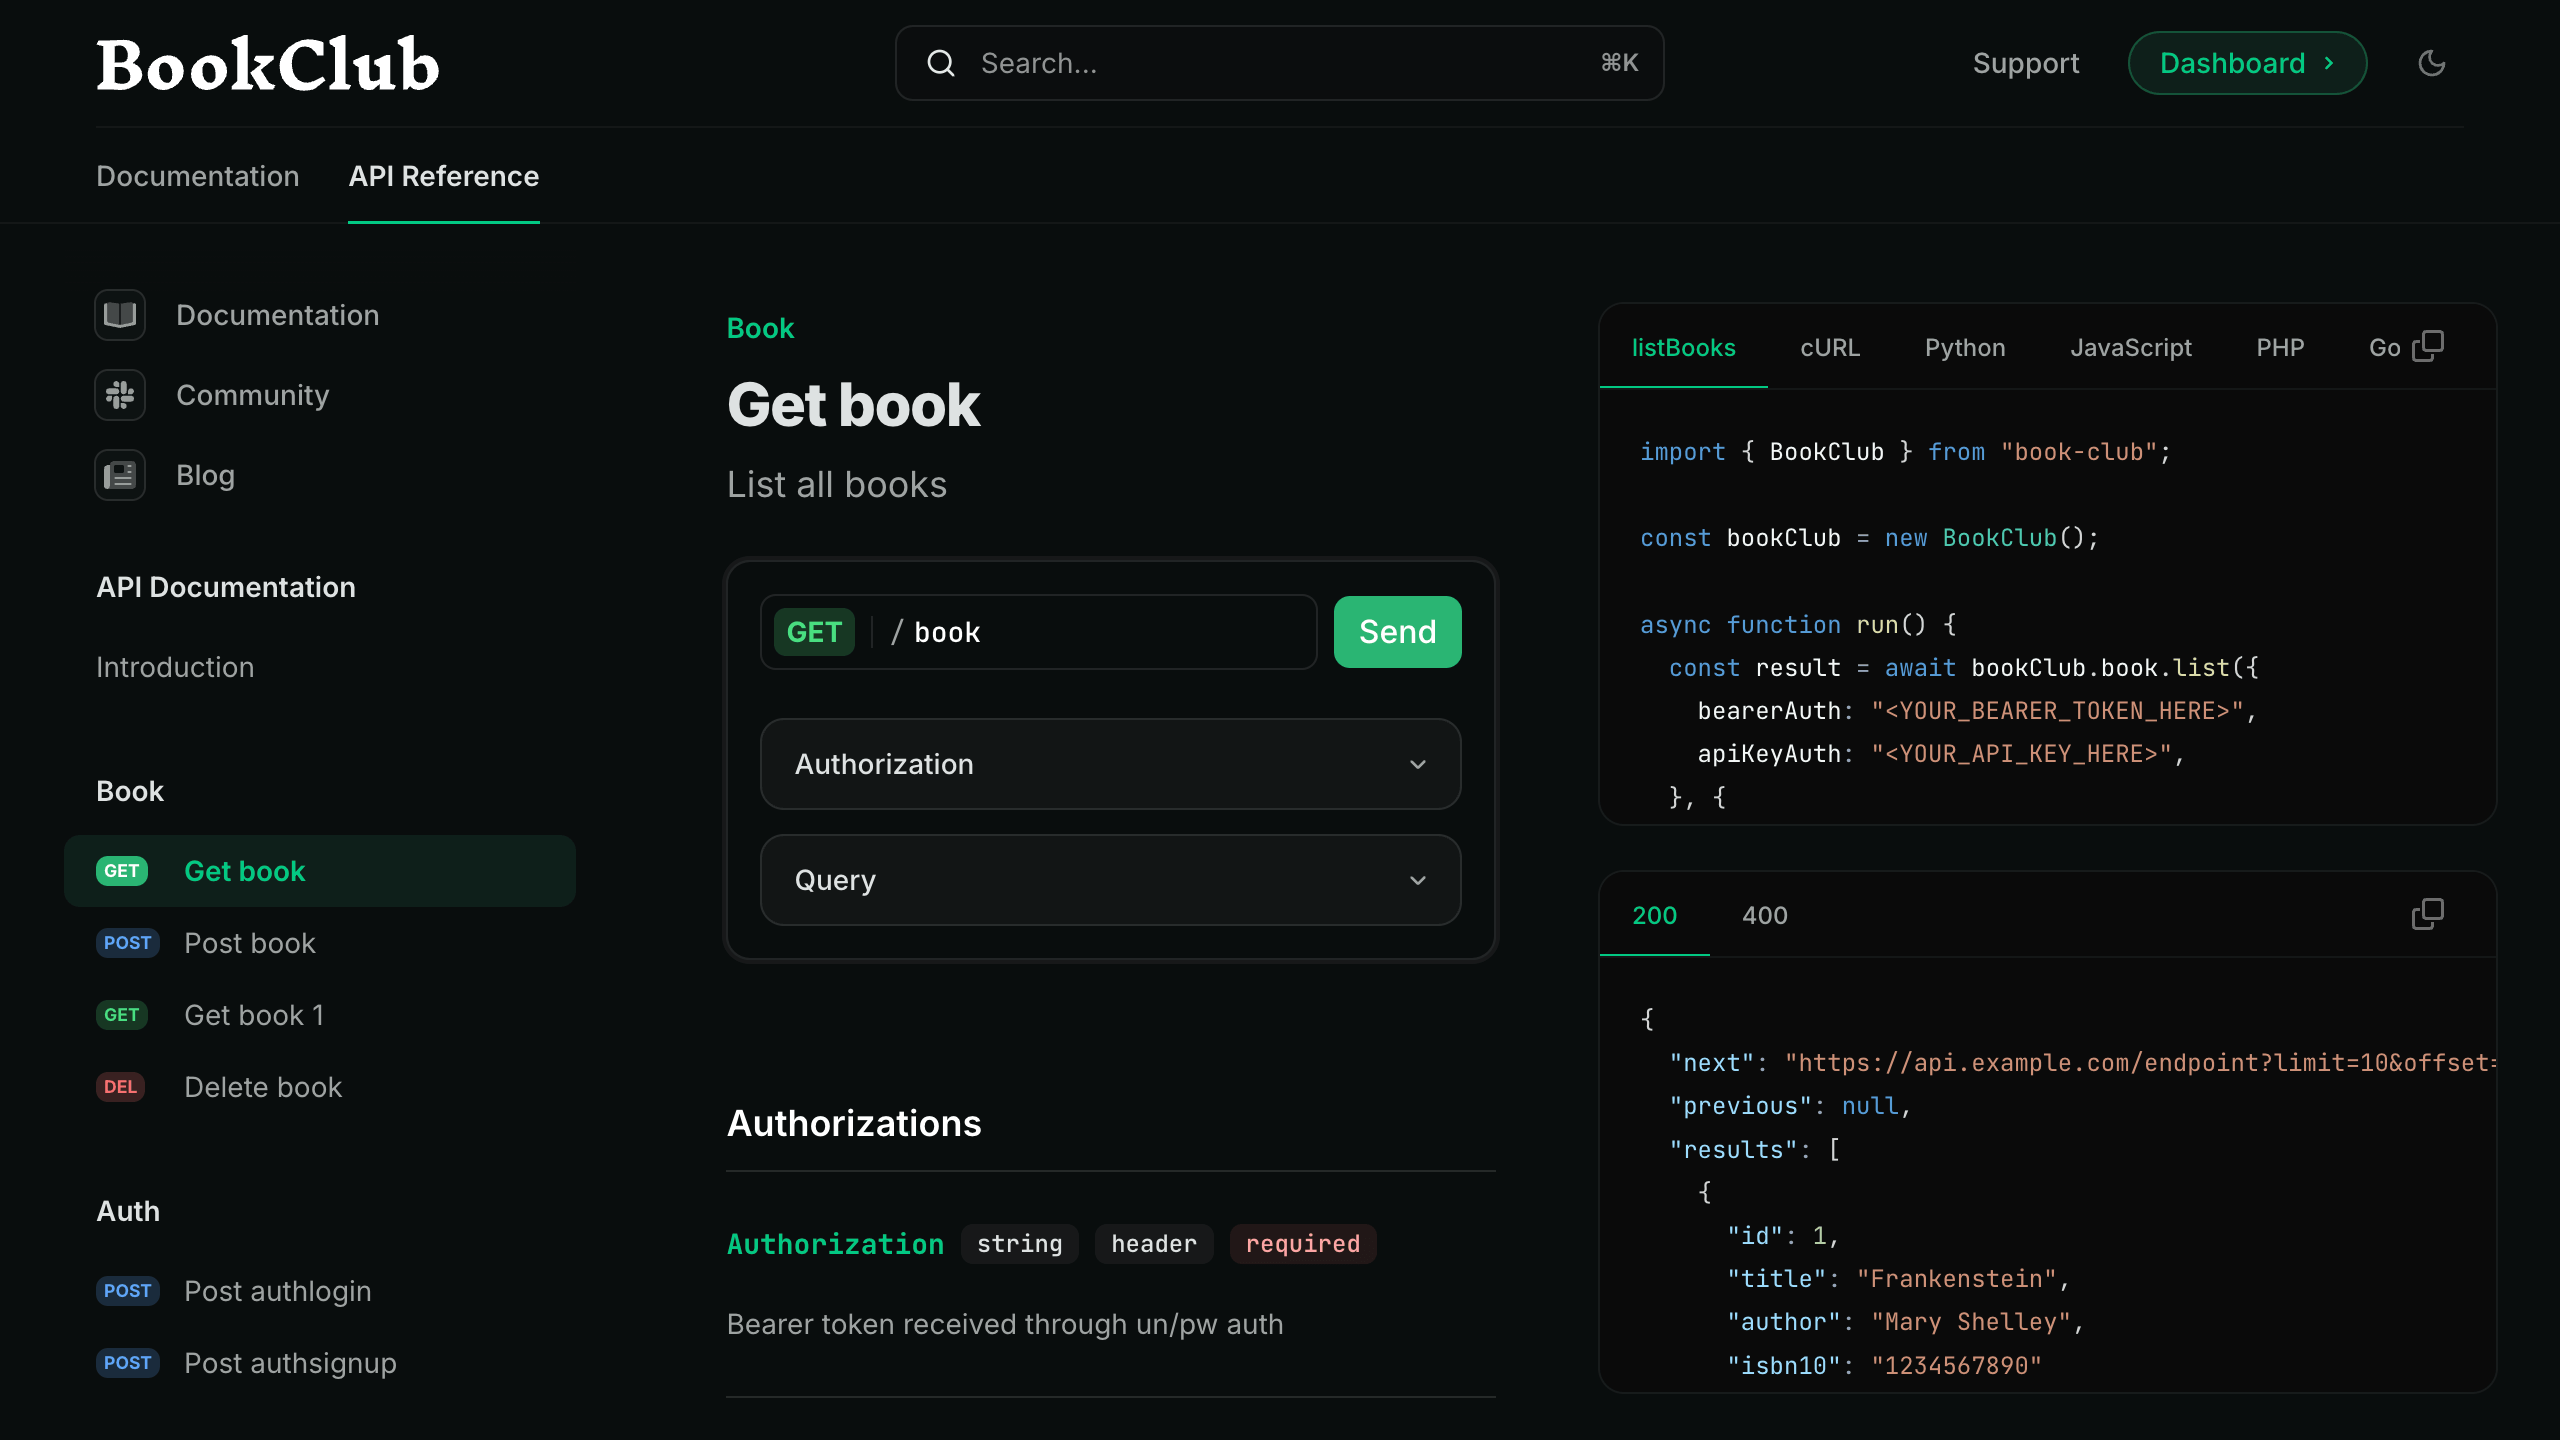
- A Speakeasy-generated SDK with a configured automated code sample URL.
Set up the integration
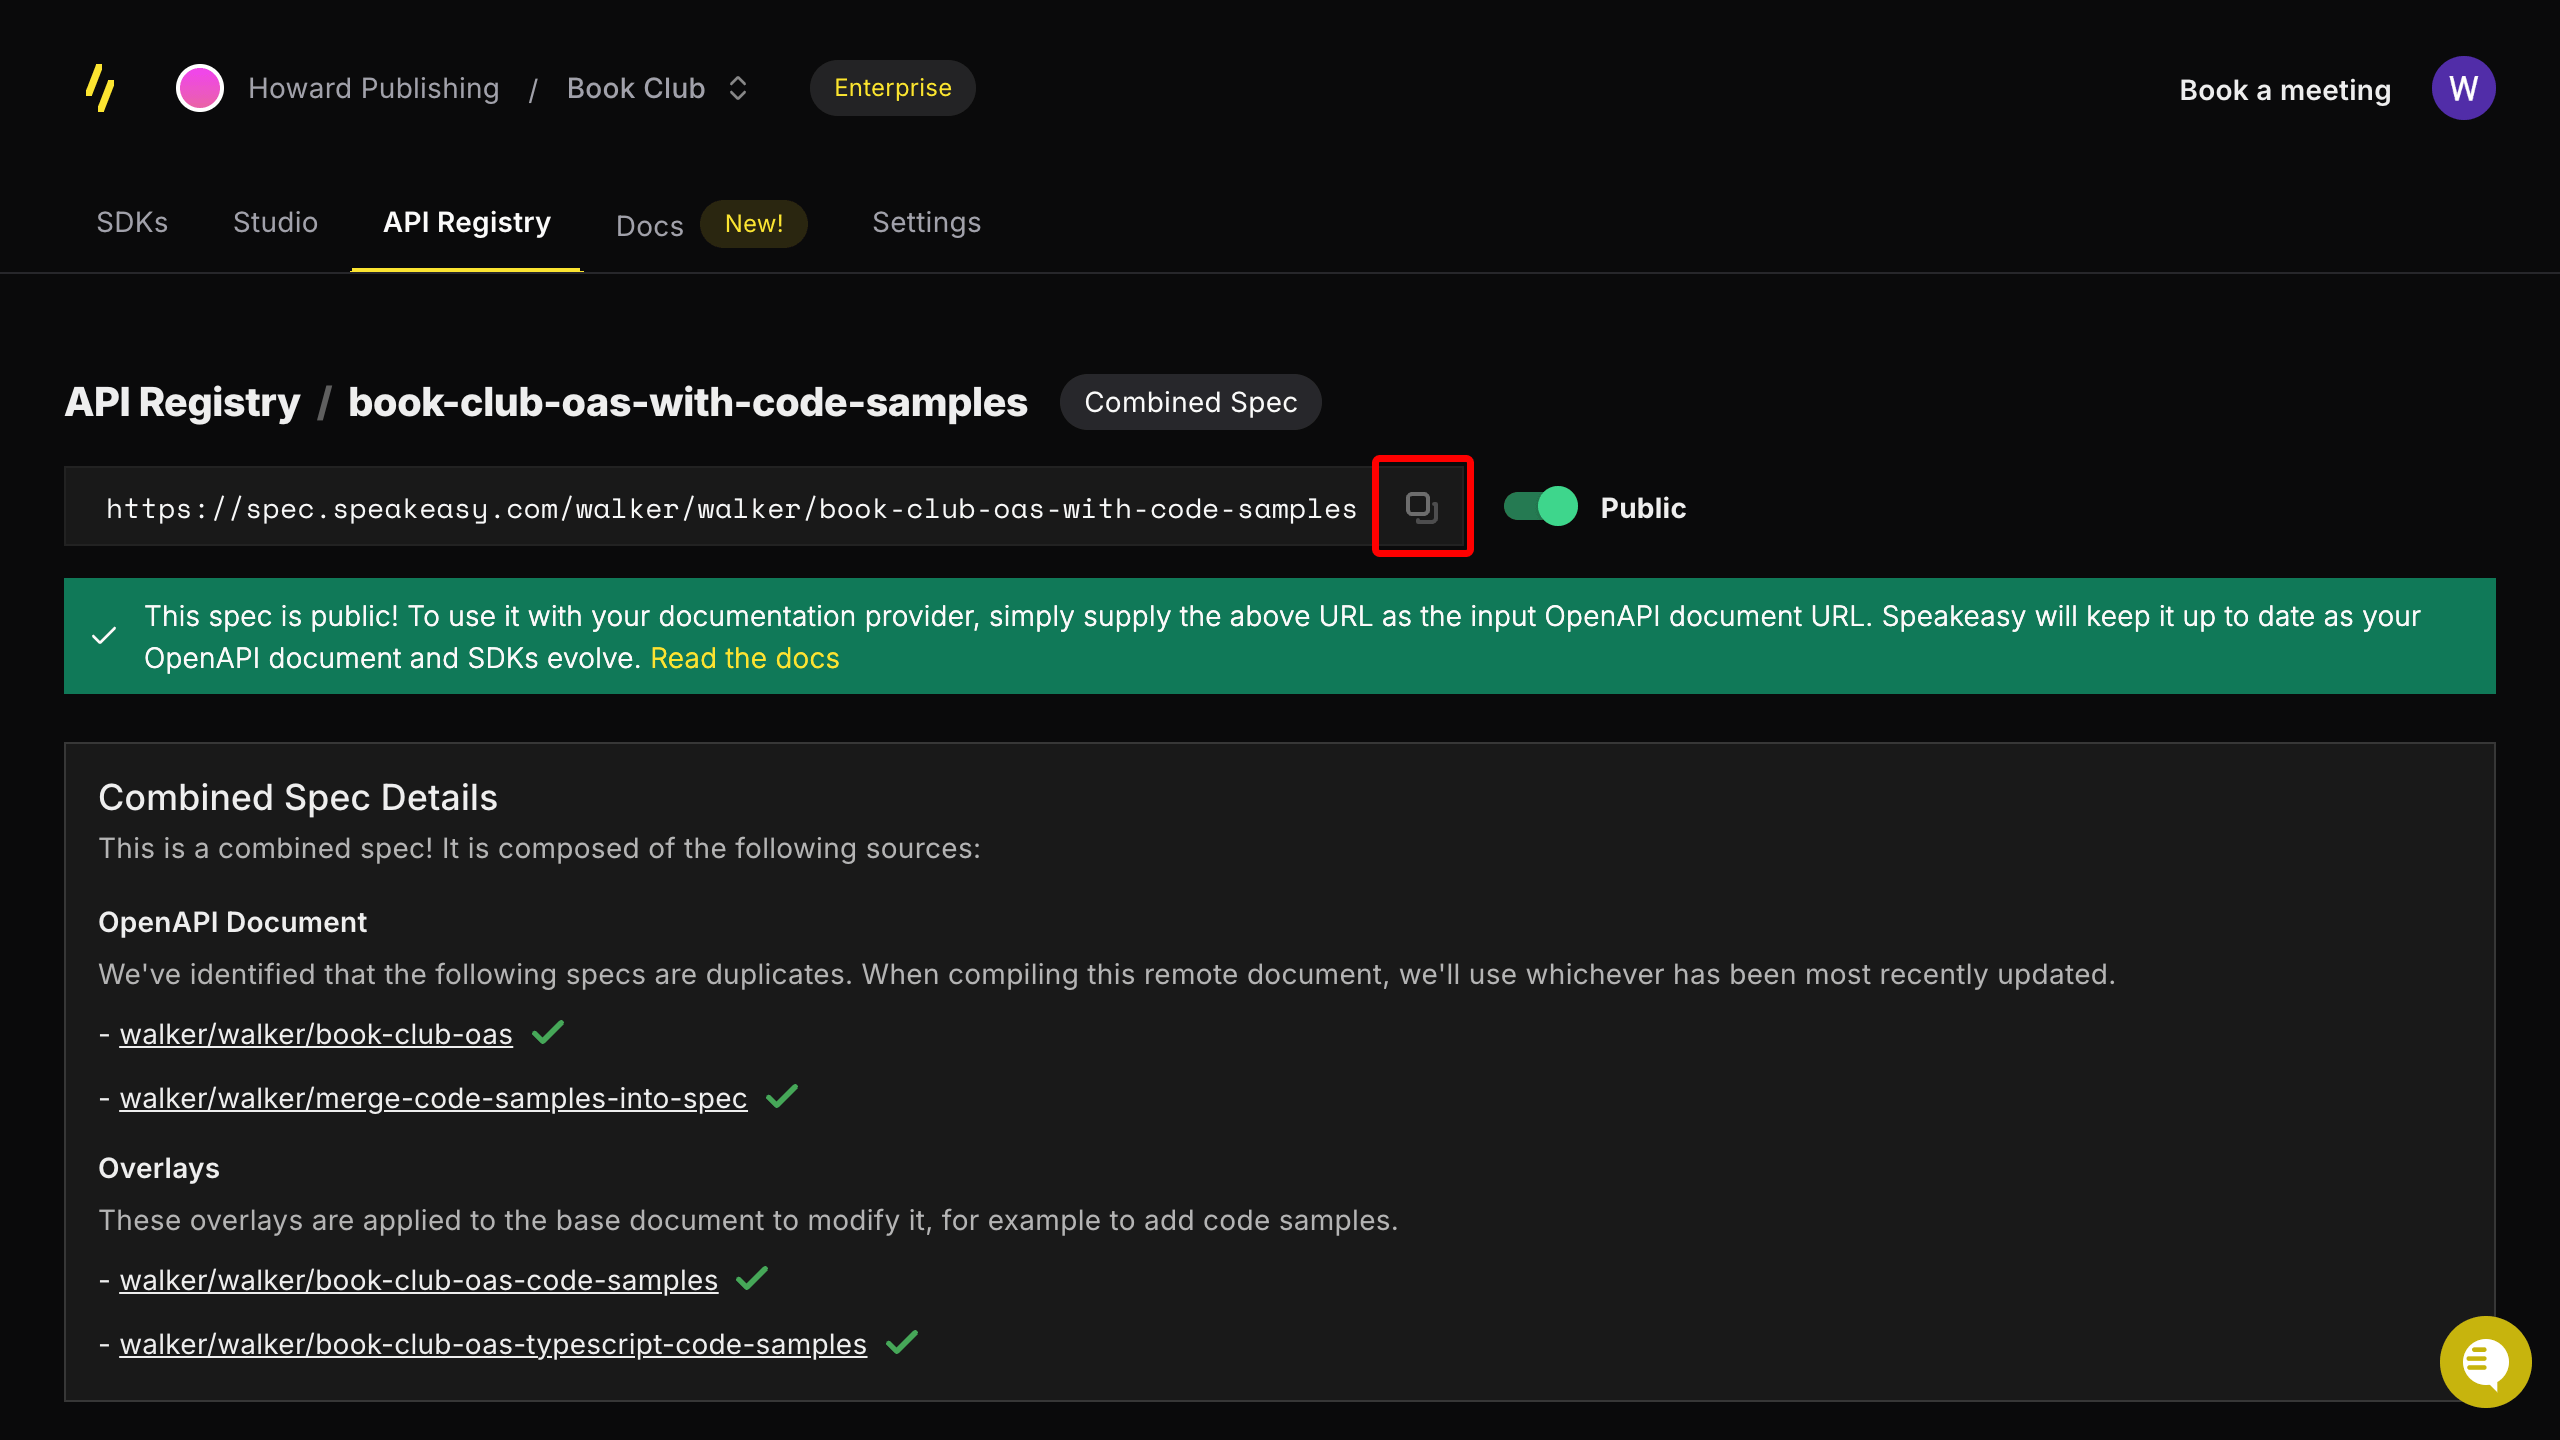
To integrate Speakeasy with Mintlify, you must get the API’s combined spec public URL from the registry and update yourdocs.json configuration file.
Get the API’s combined spec public URL from the registry
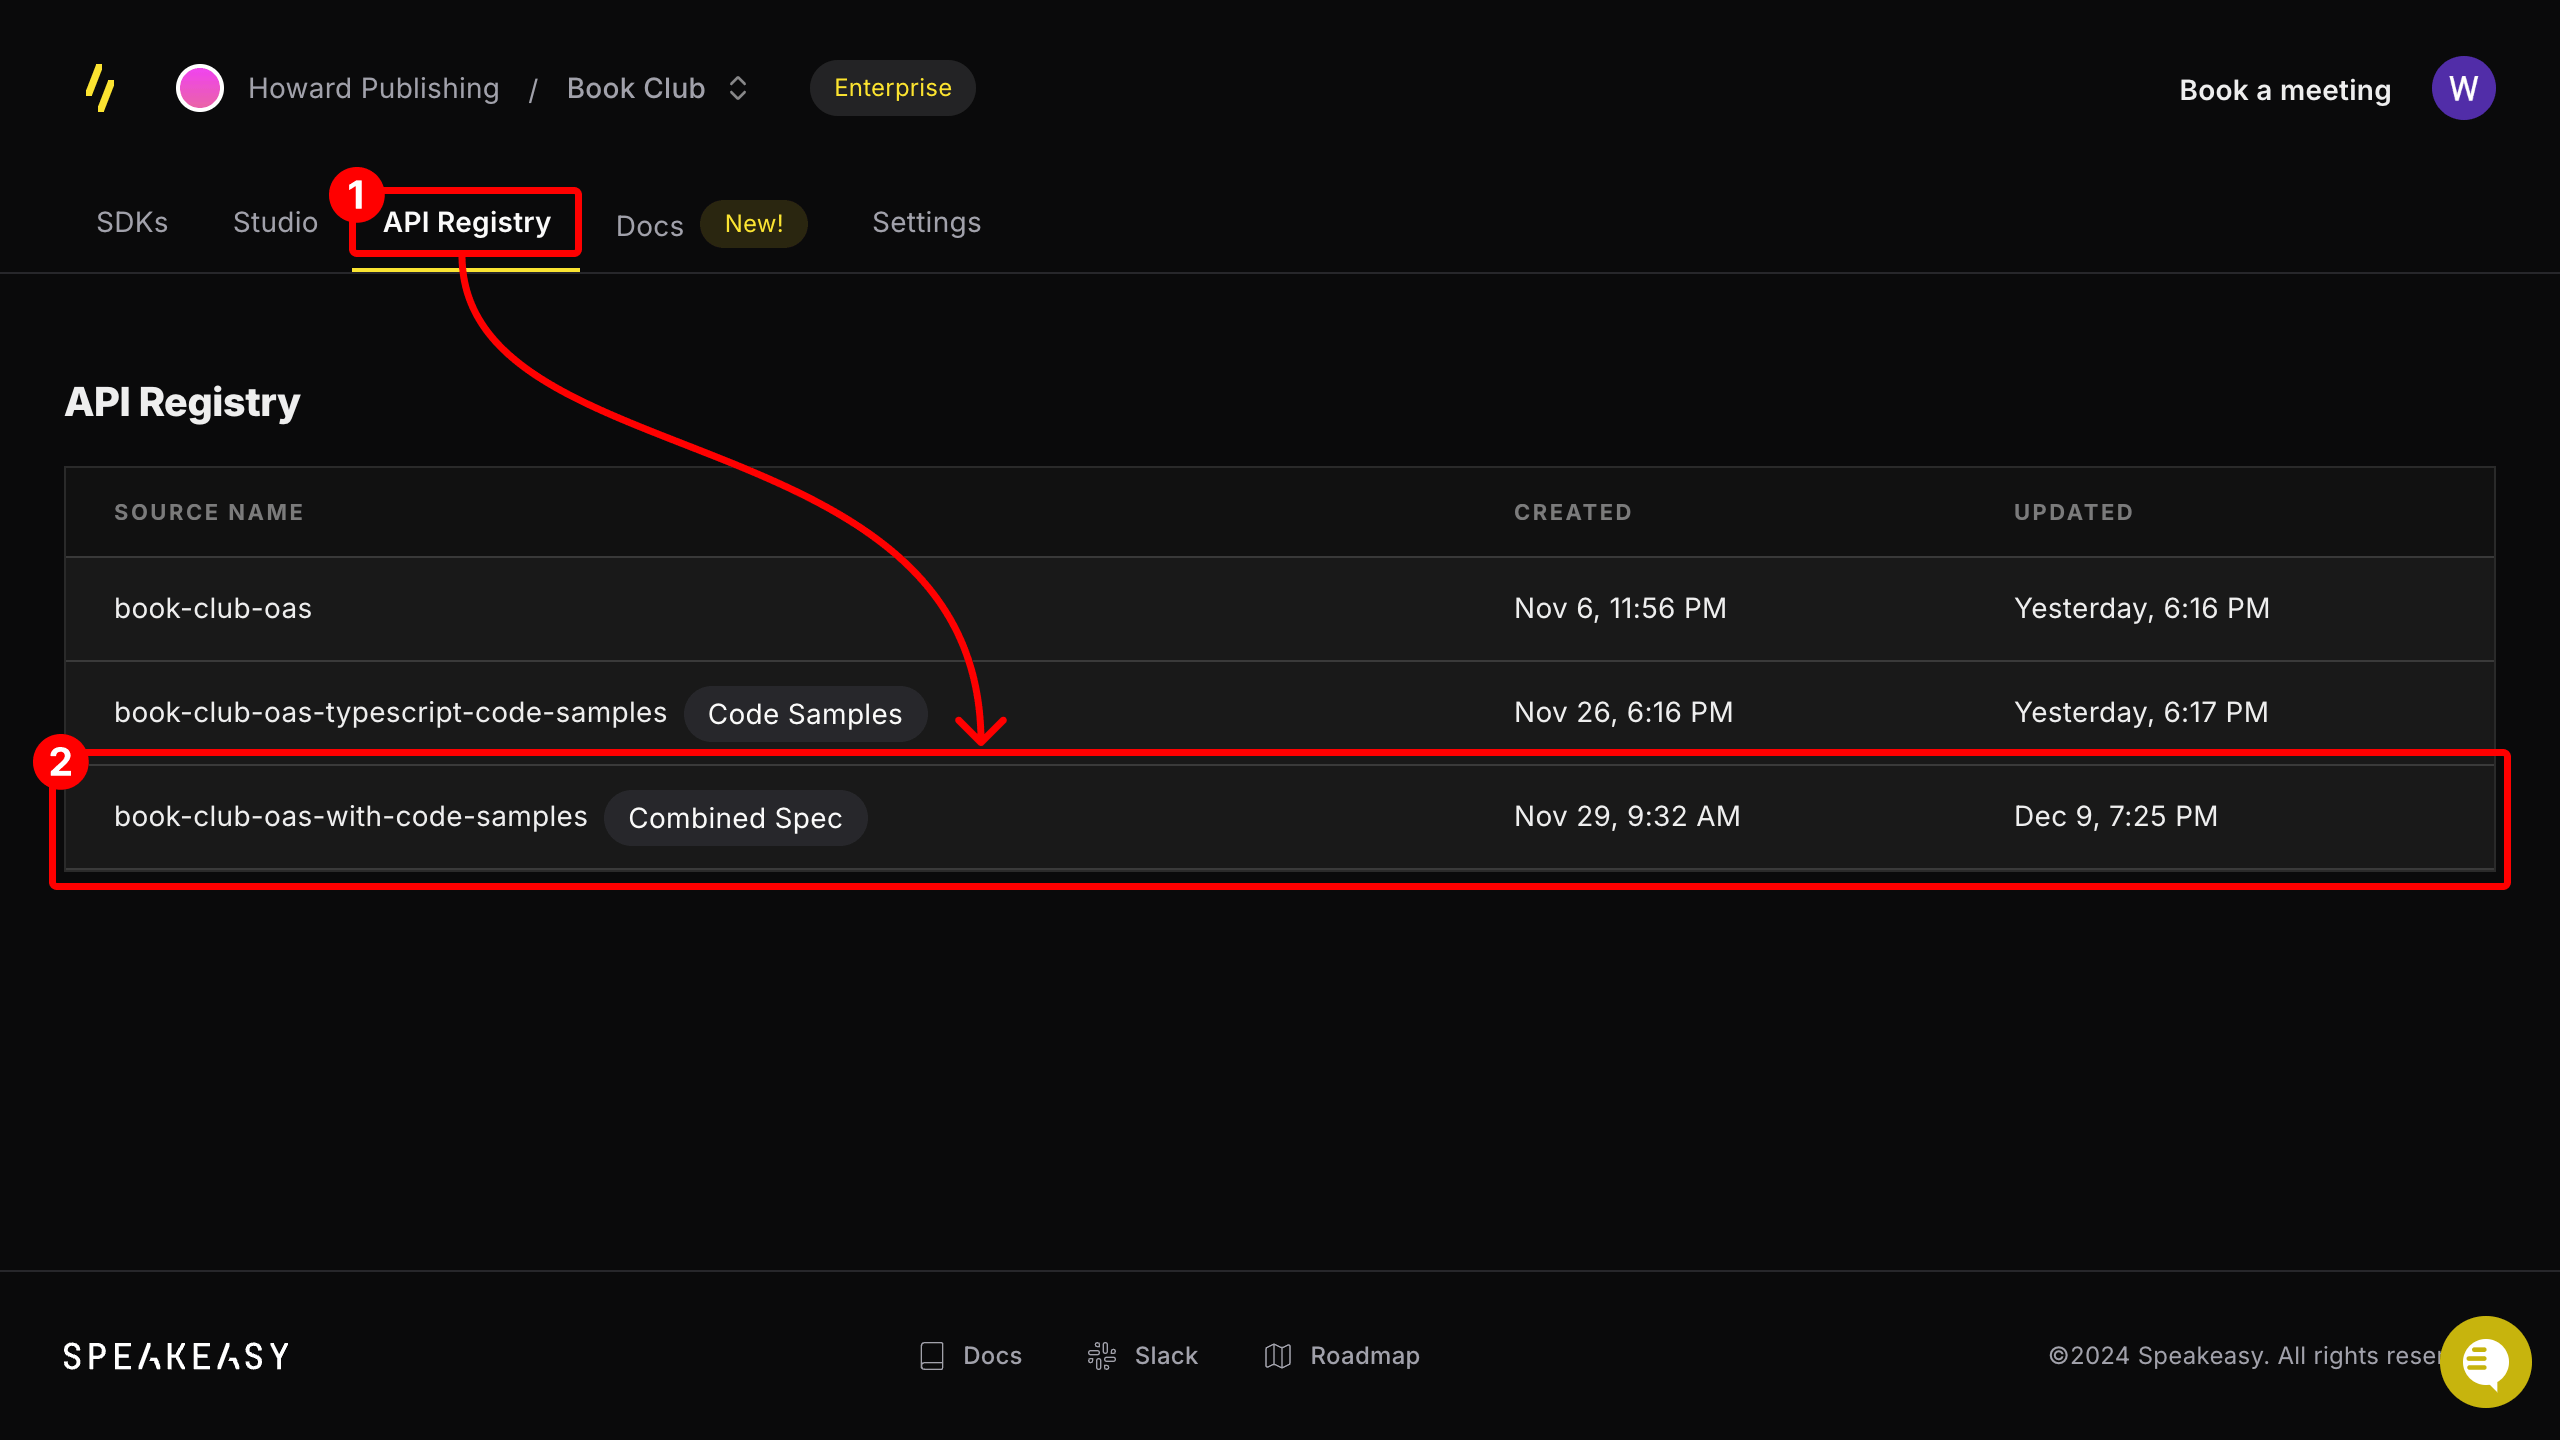
Go to your Speakeasy Dashboard and open the API Registry tab. Open the*-with-code-samples entry for the API.
If the entry is not labeled Combined Spec, ensure that the API has an automatic code sample URL configured.
Update your docs.json configuration file
Add the combined spec URL to an Anchors or Tabs section in your docs.json file.
Add the combined spec URL to an anchor by updating the anchor field in your docs.json file as follows:
docs.json
tab field in the docs.json file as follows:
docs.json