- Add your domain in your dashboard.
- Configure DNS settings on your domain provider.
- Allow time for DNS to propagate and TLS certificates to be automatically provisioned.
Looking to set up a subpath like
example.com/docs? See /docs subpath.Add your custom domain
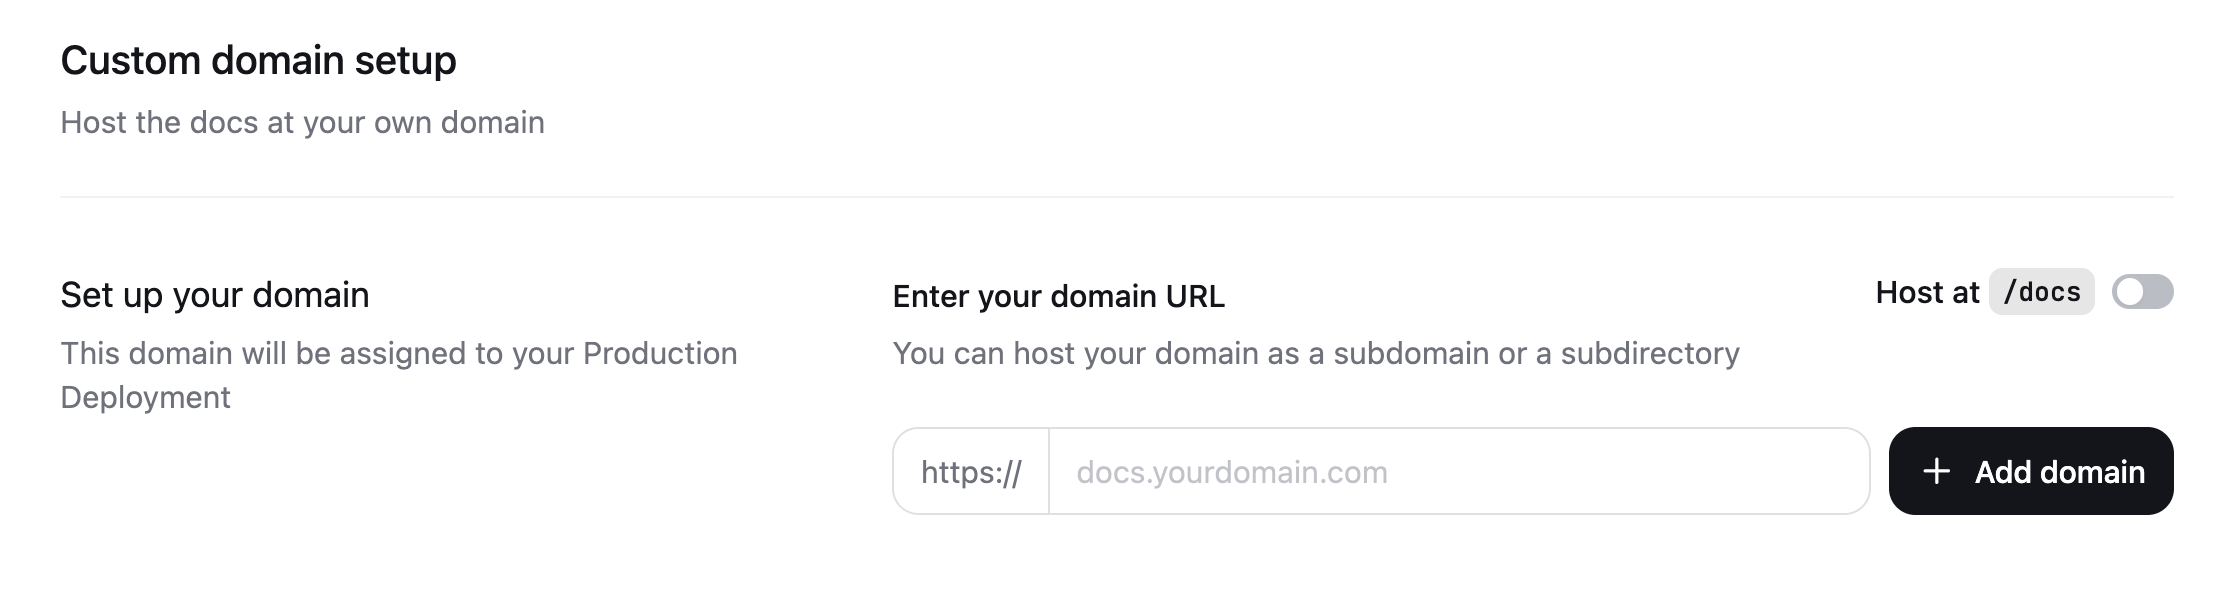
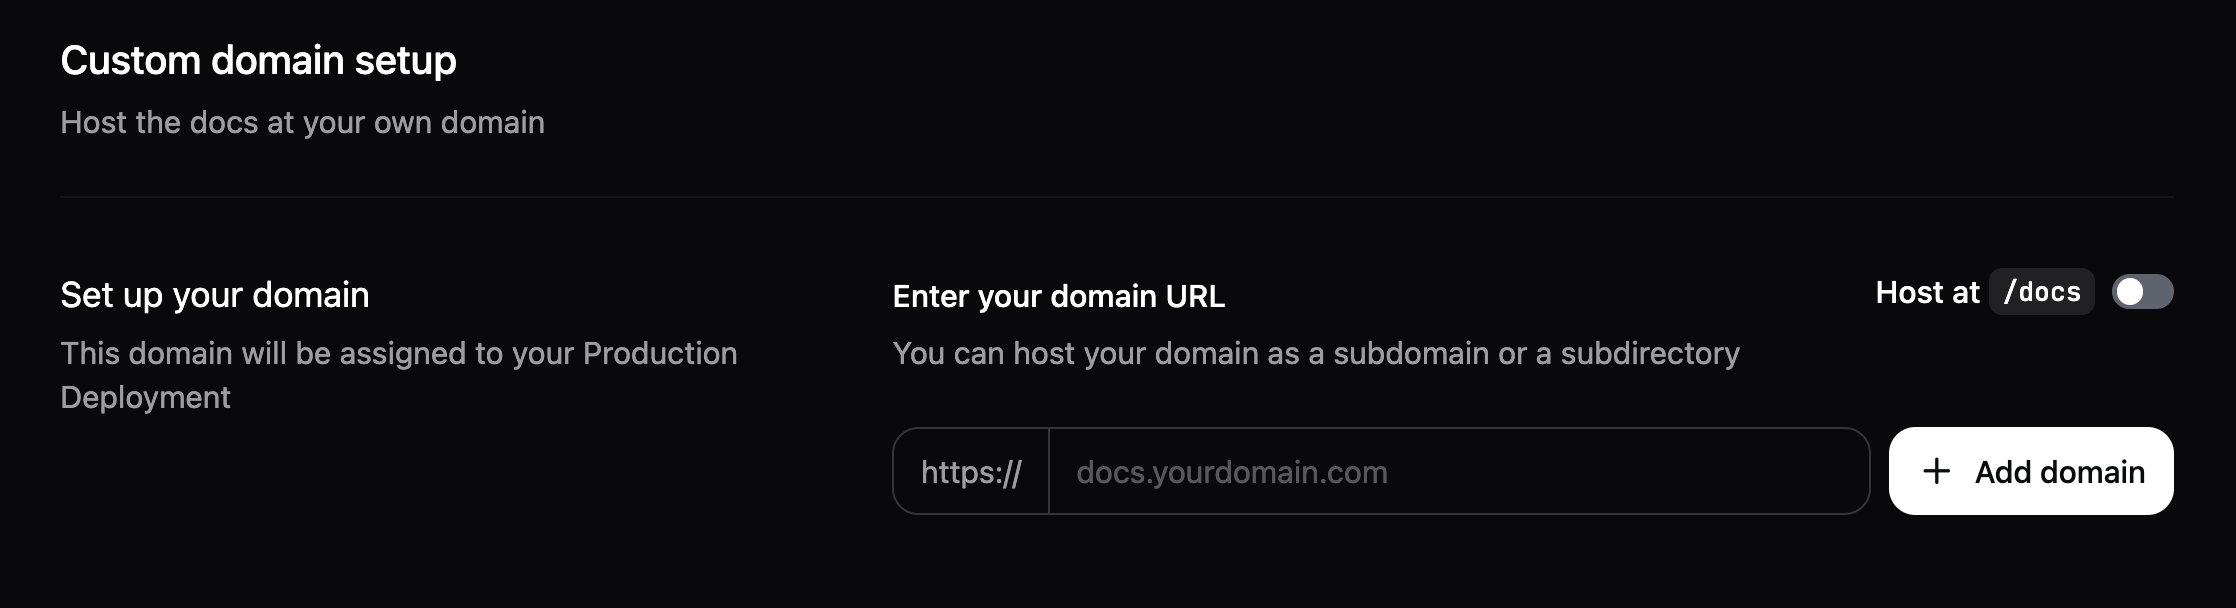
- Navigate to the Custom domain setup page in your dashboard.
- Enter your domain name. For example,
docs.example.comorwww.example.com. - Click Add domain.
Configure your DNS
- On your domain provider’s website, navigate to your domain’s DNS settings.
- Create a new DNS record with the following values:
Verification TXT records
After you add a custom domain, the dashboard displays twoTXT records that you must add at your DNS provider:
_acme-challenge record authorizes Let’s Encrypt to issue a TLS certificate for your domain, and the _cf-custom-hostname record verifies that you control the domain.
The dashboard polls DNS in the background and marks each record with a green check once it verifies the expected value. After saving records at your DNS provider, allow a short time for propagation before status updates appear.
DNS propagation
DNS changes typically take 1-24 hours to propagate globally, though it can take up to 48 hours in some cases. Use a tool like DNSChecker to verify your DNS configuration is correct. Once your DNS records are active, your documentation is first accessible via HTTP. HTTPS is available after Mintlify provisions your TLS certificate.Automatic TLS provisioning
After you add yourTXT records and your DNS records resolve correctly, Mintlify generates a free SSL/TLS certificate for your site using Let’s Encrypt.
This typically completes within a few hours of DNS propagation, though it can take up to 24 hours in rare cases. Certificates are automatically renewed before expiration.
CAA records
If your domain uses CAA (Certification Authority Authorization) records, you must authorize Let’s Encrypt to issue certificates for your domain. Add the following CAA record to your DNS settings:Reserved paths
Mintlify reserves the/.well-known/acme-challenge path for certificate validation. You cannot redirect or rewrite this path. If you have configured redirects or rewrites for this path, certificate provisioning fails.
Provider-specific settings
Cloudflare encryption mode
Cloudflare encryption mode
If Cloudflare is your DNS provider, you must enable the “Full (strict)” mode for the SSL/TLS encryption setting. Additionally, disable “Always Use HTTPS” in your Edge Certificates settings. Cloudflare’s HTTPS redirect blocks Let’s Encrypt from validating your domain during certificate provisioning.
Retry validation
If your domain is still pending validation after adding the verificationTXT record, you can retry validation manually from your dashboard.
- Navigate to the Custom domain setup page in your dashboard.
- Find your pending custom domain.
- Click Retry validation.
Set a canonical URL
After configuring your DNS, set a canonical URL to ensure search engines index your preferred domain. A canonical URL tells search engines which version of your documentation is the primary one. This improves SEO when your documentation is accessible from multiple URLs and prevents issues with duplicate content. Add thecanonical meta tag to your docs.json:
https://www.your-custom-domain-here.com with your actual custom domain. For example, if your custom domain is docs.mintlify.com, you would use: